Creating New Apache Solr Connections
Apache Solr data connection allows you to build visualizations and apps using Solr’s search engine.
- Datasets built on Apache Solr data connections do not support the construction of
visuals with measure aggregates, other than
Record Count. Arcadia does not use other fields that may be placed on Measure-type shelves. - The visual builder interface for Apache Solr includes a Search shelf.
- Some visual types are not available, or uninformative, on Apache Solr connections because they require multiple measure aggregations.
- Arcadia Data supports table joins, but not the more advanced data modeling and analysis options, such as attribute dimension to measure conversion, events, segments, filter associations, derived data, and so on.
The following steps demonstrate how to create new Apache Solr data connections.
On the main navigation bar, click Data.
The Data view appears, open on the Datasets tab.
In the side bar, click New Connection.
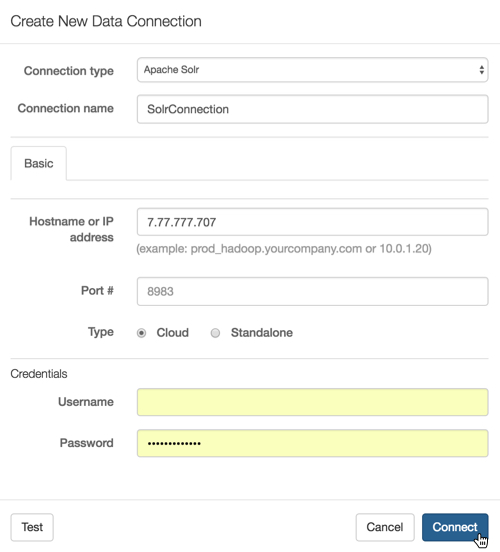
The Create New Data Connection modal window appears.
- In the Create New Data Connection modal window, under Connection type, select Apache Solr.
- Under Connection name, specify the name of the new connection.
Here, we use
SolrConnection. Under Hostname or IP address, specify the name of your database host, or its IP address; use
localhostwhen the data source is local.- Under Port #, enter the port number. The default port # for Arcadia
Engine connections is
8983. - Under Type, you have a choice between the default
Cloudmode, andStandalone. Under Credentials, complete the following entries.
Under Username, enter the username for establishing the connection.
Under Password, enter the password for establishing the connection.
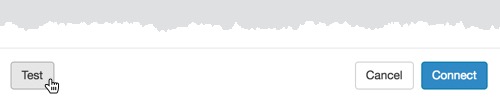
At the bottom of the modal, click Test.
Testing the New Connection If the connection is valid, the system returns a 'Connection Verified' message.
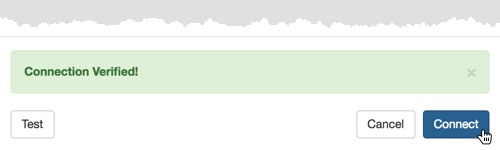
New Connection Verified - Click Connect.
After this operation succeeds, the new connection name appears on the side navigation bar.