User Role Assignments
Under the Members tab, in the Users list, click Edit User(s)
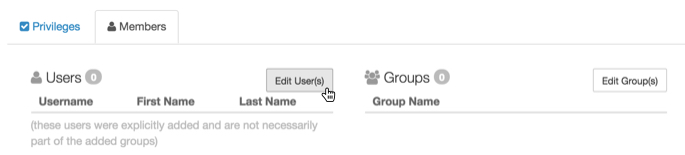
Editing List of Users in Role Members -
The Role Assignment modal window for users appears.
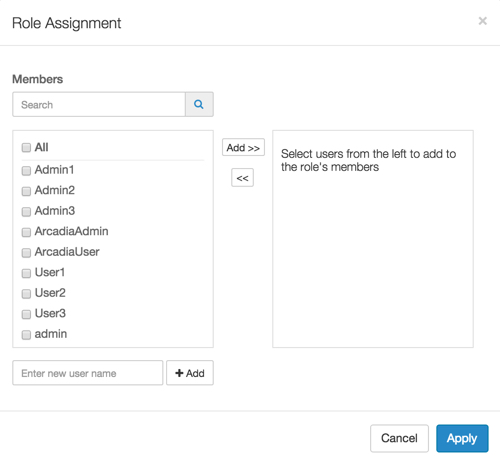
Role Assignment Modal Window -
There are several options for adding a user to a membership:
-
If you have a long list of users in the Members section, use the Search box to match user names, select them from the sub-list, and then click Add to move them to the right side of the modal window. Click Apply.
Using Search to Assign the User to Role Members -
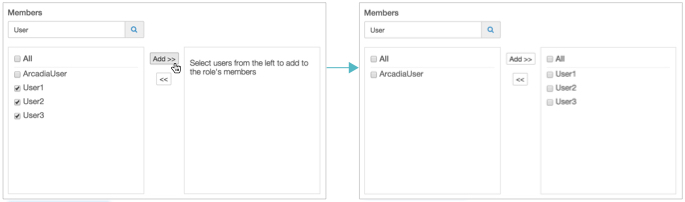
In the Members section, select the users to assign to the role and click Add to move them to the right side of the modal window. Click Apply.
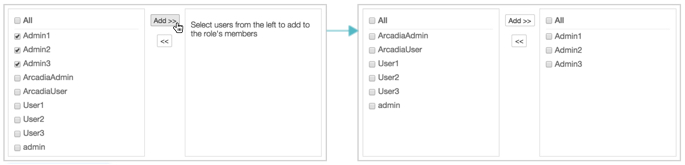
Using Simple Select to Assign the User to Role Members -
To assign all users to Members, select All to get all user names, and then click Add to move them to the right side of the modal window. Click Apply.
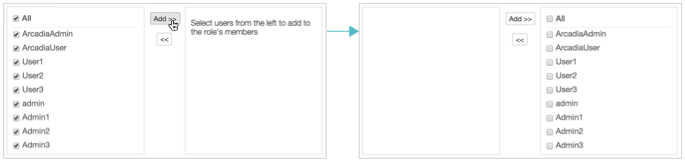
Select all Users to Assign to Members -
To move users out of Members, select the user(s) on the right side panel, and then click . Click Apply.

Removing Users from Members -
For convenience, the Role Assignment interface supports adding into the list of assignees names that are not stored locally. For example, known usernames available through LDAP authentication may be added in this manner.
Enter the new username, and click the Add button. Then click Apply.
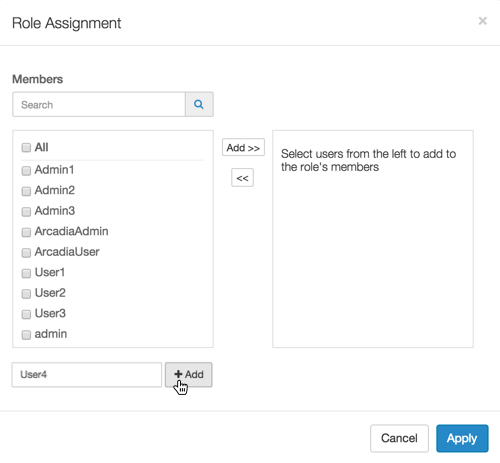
Add New Users in Role Assignment Modal
-
-
The list of users assigned to the role appears in the Role: Test Role 1 interface, under the Members tab.
Click Save.
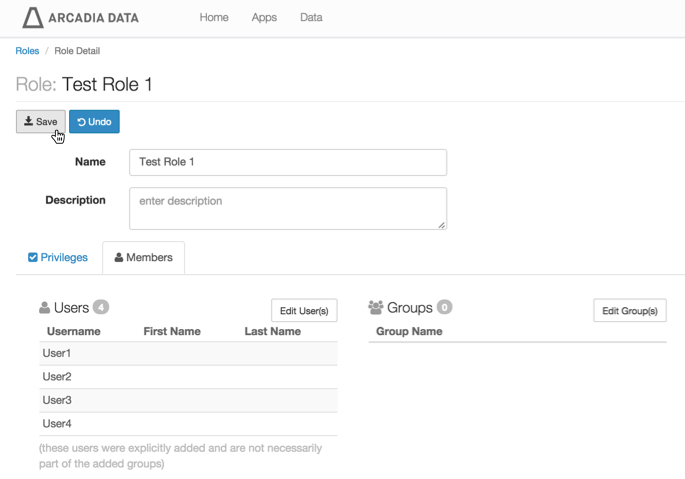
Users Assigned to a Role - Click Save.