Inserting Images
There are two categories of images you can use to enhance these visuals: uploaded from the local machine, from the static assets that are already incorporated into Arcadia Enterprise.
It is very simple to resize the images after they are added to the visual: either by directly editing in code view, or through the Resizing an Image
Images from Local Machine
To insert an image into a visual from a local directory, follow these steps. Note that Arcadia Enterprise automatically adds these images to the static assets it manages.
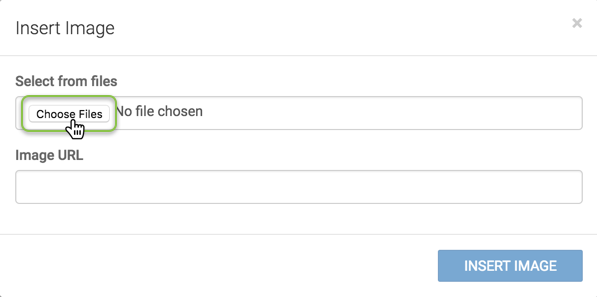
In the Rich-Text Editor, click (Picture) icon.

This opens the Insert Image modal window.
-
In the Insert Image interface, under the Select from files field, click Choose Files, and then select an image file from your file system. Click Insert Image.
-
Note that Arcadia Enterprise automatically converts the image into a static asset.
When you click on the (code) icon, it shows a link to the image inside the
staticassetdatabase.In this example, the link appears as
asset_id.image_type, whereasset_idis assigned automatically based on the order of upload, andimage_typeis consistent with the format of the uploaded file, such aspng.<img src="/arc/reports/staticasset/raw/4.png" style="width: 223px;">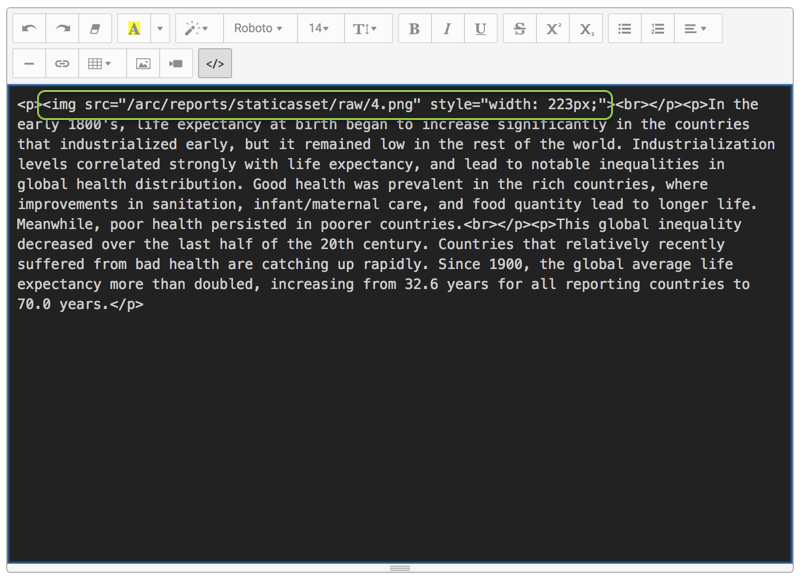
Images from Static Assets
To insert an image that has been previously uploaded to the system as a static asset, follow these steps:
-
In the Rich-Text Editor, click (Picture) icon.
This opens the Insert Image modal window.
-
In the Insert Image interface, provide the address of the image in the Image URL field, and then click Insert Image.
The format for inserting existing static assets follows:
ip-address:port-address/arc/reports/staticassets/raw/asset-id.asset-typeWhere
asset_idis the ID of an asset already imported into the system, and asset-type is the file extension.In our example, we are loading asset
1.png.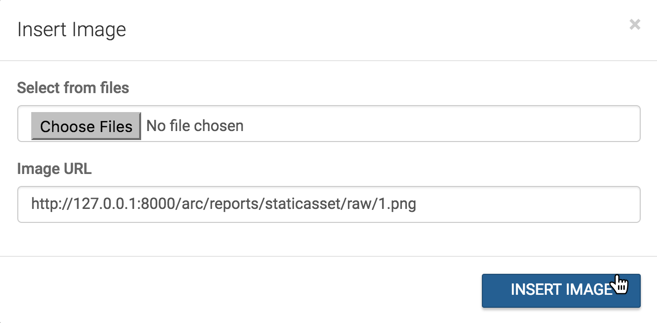
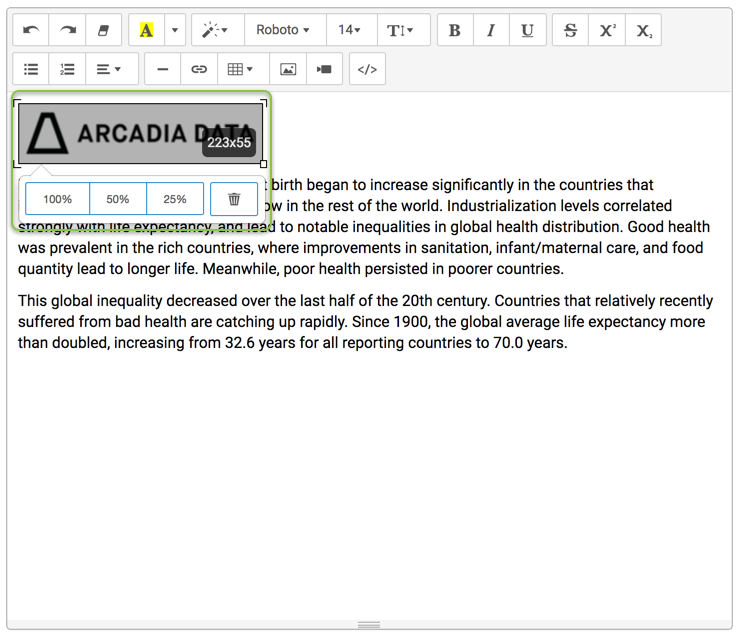
Resizing an Image
To resize an image inside the visual, follow these steps:
- Open the rich text visual in Edit mode.
-
Click on the image, and select one of the magnification controls: 100%, 50%, or 25%.