Saving Tables; Materialized Tables or Logical Views
Arcadia Enterprise enables you to save tabular data as its own table, and writes it back to the database. It also enables you to produce a dataset based on data exposed in a visual, which may be used for self-referenced application stacking.
- Examining data in either table or query visuals.
- Using Arcadia or Impala connections.
- User has Data Import/Load privileges.
To follow these steps, you may choose to prepare by importing data from datafile SnP500.csv, and creating a dataset from it. We named our dataset S&P 500 Historical Data.
- Select the dataset, and click New Visual.
-
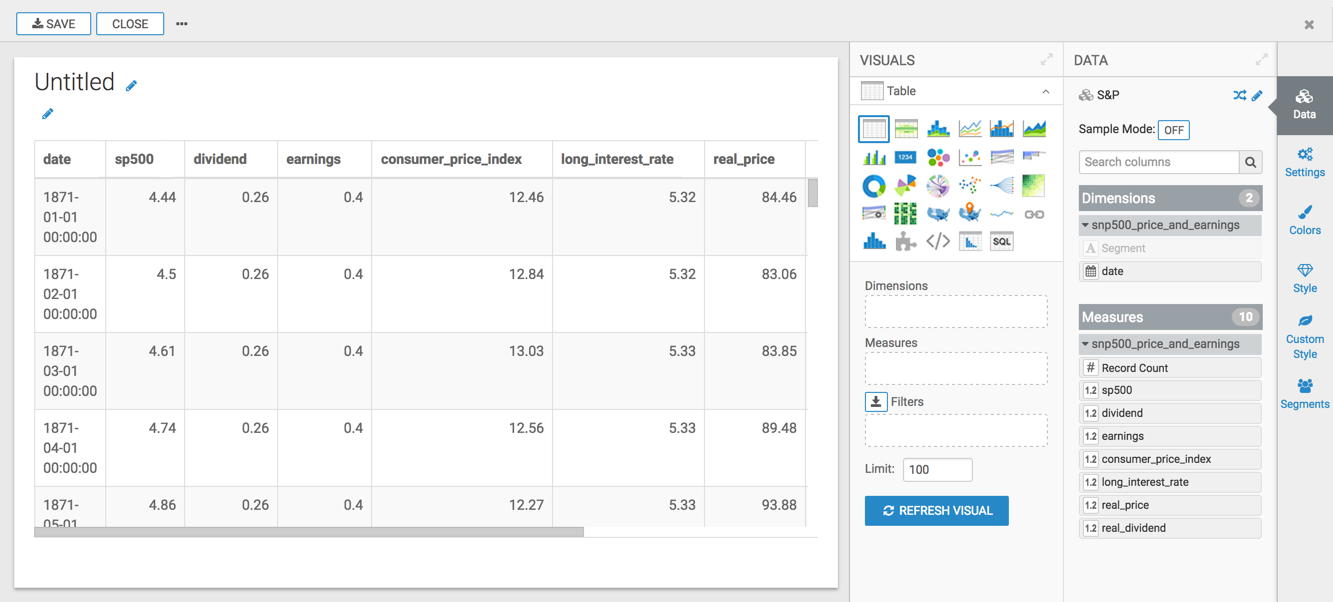
For a Table visual: In the visual edit view, select the necessary fields from the Fields menu on the left, and place them onto the Dimensions, Measures, and Filter shelves.
For a Query visual: make the necessary edits in the SQL statement at the top of the visual.
-
Make all necessary changes to the shelves, such as filtering, ordering, calculation, and so on, so they can be saved in the new table.
Tips:- Because the column names in the new table derive from the shelves, we recommend that you alias the aggregate fields.
- Adjust the Limit to ensure that all rows are captured in the new table.
- If you are comfortable working with SQL statements, many of these changes and adjustments are quicker to make by directly editing the SQL.
-
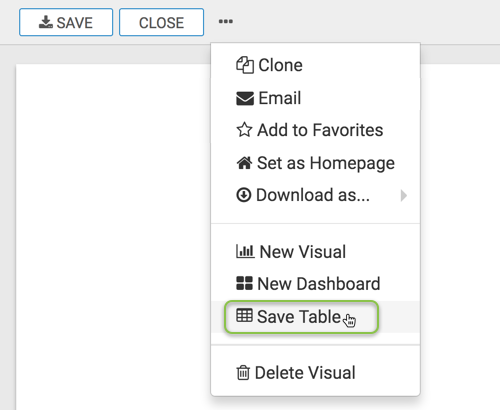
On the top right menu, click (ellipsis) icon, and then select Save Table from the menu.
Saving Table Data in Table Visual -
In the Create a materialized table or logical view modal window, fill out these fields:
- Enter the Name of the new table. We are using
snp500_price_and_earnings. - Choose the Type: Materialized table to permanently save query results, Logical view to generate updated query results every time the visualization is loaded or refreshed, or Dataset directly from query.
- [If creating a Materialized Table] Choose Storage format, either Parquet or Text file.
- Under Create in database, choose an existing database where to save the table.
- [Optional] When creating a dataset as part of this operation, select the Create a new dataset... option, and enter the Dataset name.
- Click Create.

Creating a New Materialized Table - Enter the Name of the new table. We are using
-
A success confirmation modal appears, with a link to the new default visual on the new dataset.

-
Click the link to open a new default visual on the new dataset, in Edit mode.