Creating New Apps
This exercise demonstrate how to create a new App.
There are two approaches for creating new apps: the more comprehensive one that starts from the Main Navigation Menu, from the From the Main Navigation Menu, and from the Left Navigation Menu of the Visuals interface.
Creating an App from the Top Navigation Menu
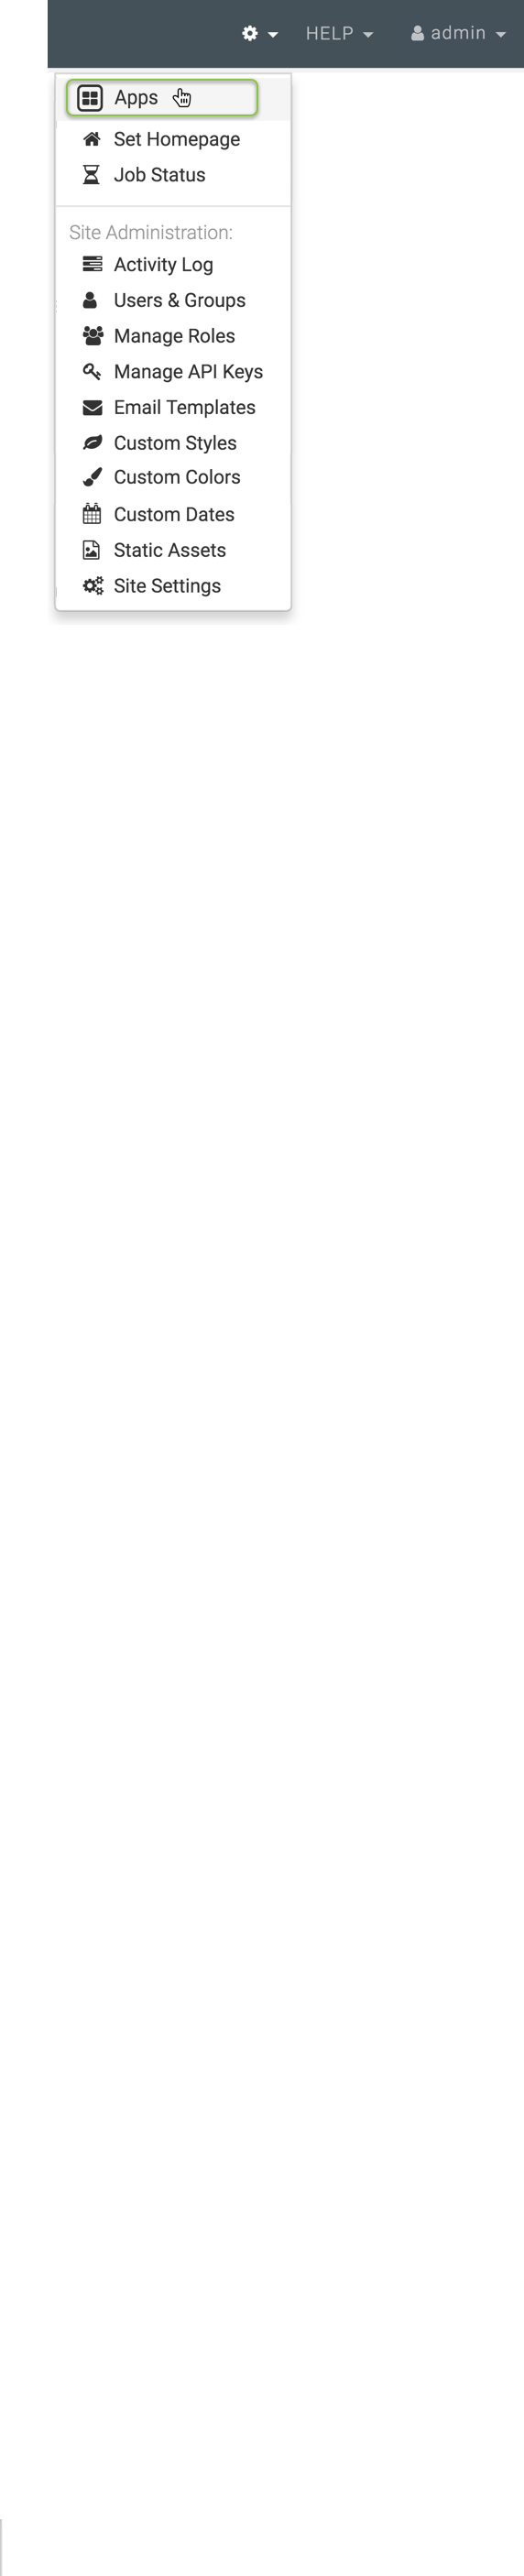
On the main navigation bar, click the (gear) icon.
In the dropdown, click Apps.
Notice the that options that show in this menu depend on the user's roles and privileges.
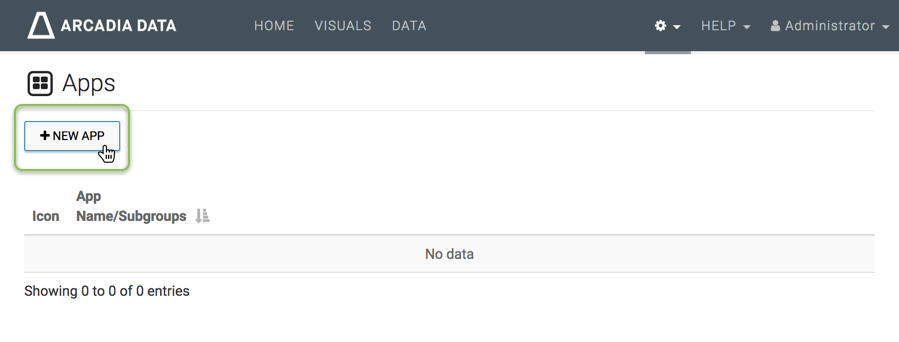
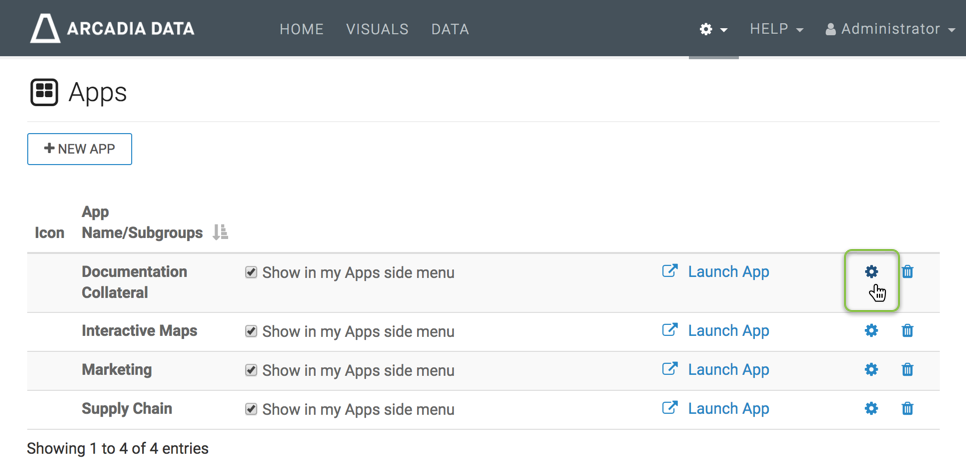
The Apps interface appears.
-
The Apps interface lists all the apps defined in your Arcadia Enterprise instance. If none have been defined so far, it is empty.
-
In the Apps interface, click New App to start a new app.
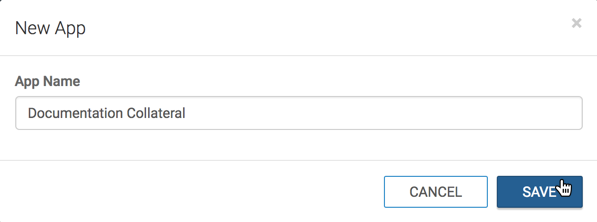
A New App modal window appears.
-
In the New App modal window, under App Name, enter the name of the new app, and click Save.
We named our first app Documentation Collateral.
-
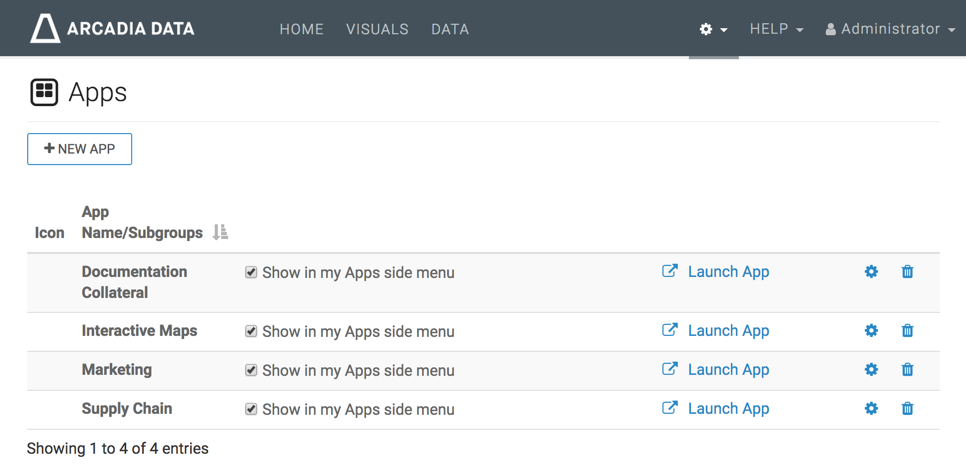
Note that the App interface has the new app, Documentation Collateral.
Let's add a few more Apps: Marketing, Supply Chain, and Interactive Maps.
-
To specify some properties for the new group, click the (gear) icon that corresponds to the app, to edit it. Here, we are editing the Documentation Collateral App.
-
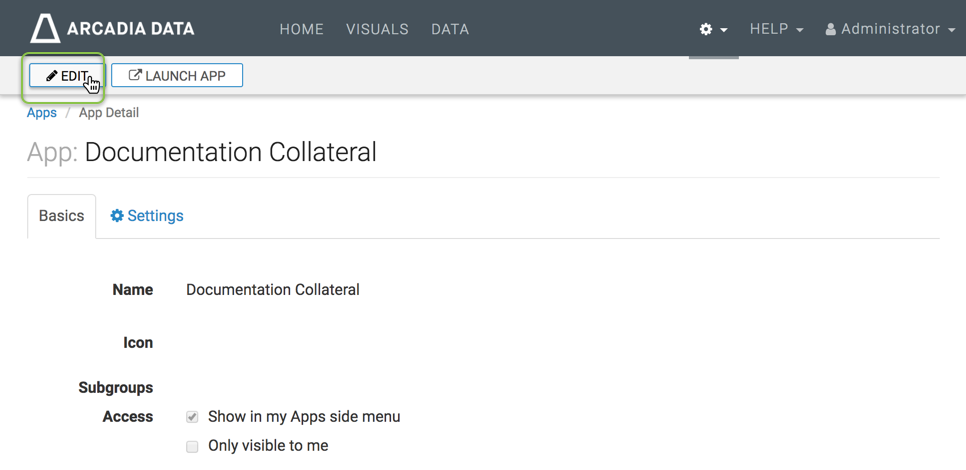
The App: Documentation Collateral interface appears.
-
In the App: Documentation Collateral interface, click the Edit button.
-
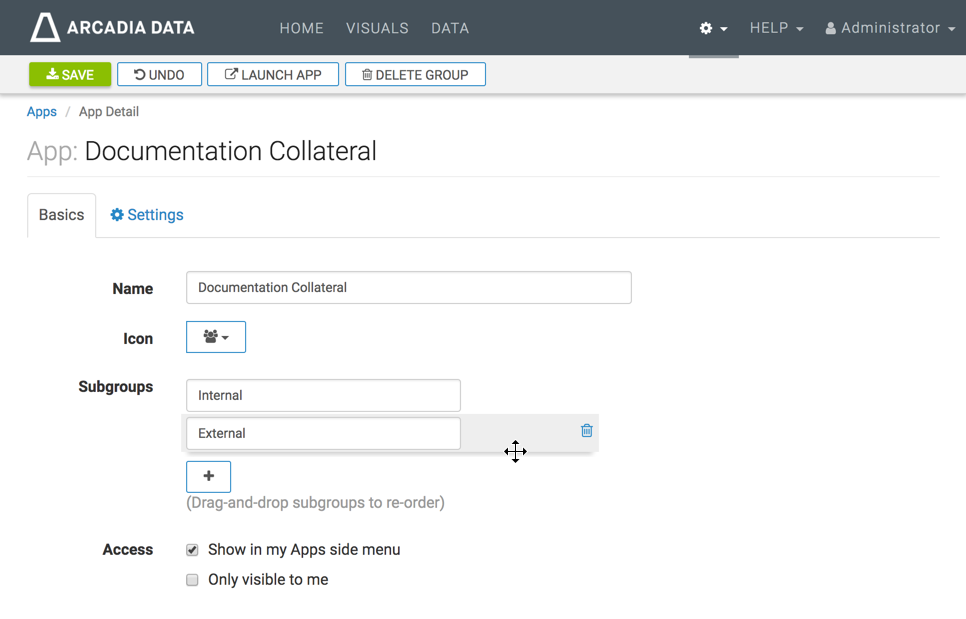
In Edit mode, under the Basic tab, you can edit a number of properties:
- The Name property may be changed here.
- The Icon property is off by default, but you can select one from the drop-down list.
-
Apps may have Subgroups. Click the (plus) icon, and enter the name of the subgroup.
When editing Subgroups, you can remove a subgroup by clicking its (trash) icon. You can also change the order of subgroups by dragging them to a new location to re-order.
-
Under Access, notice that apps Show in [your] Apps side menu by default. To hide the app, uncheck that option.
To restrict other users from seeing the app, select the Only visible to me option.
-
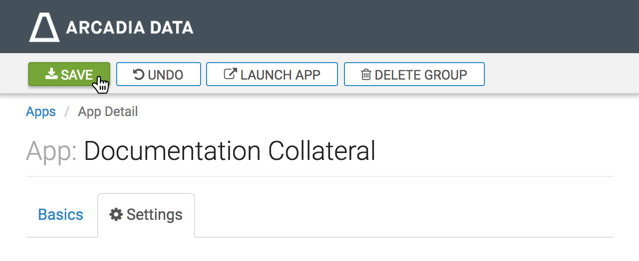
[Optional] Under the Settings tab, there are a few additional options that determine the appearance of the app when it is externalized as an application. See Adding Custom Styles to Apps for information on how to use them.
-
Click Save to save the changes to the app.
- To assign visuals to the app, see Adding Visuals and Dashboards to Apps.
- To navigate to the apps we just declared, click the Visuals option in main navigation menu.
-
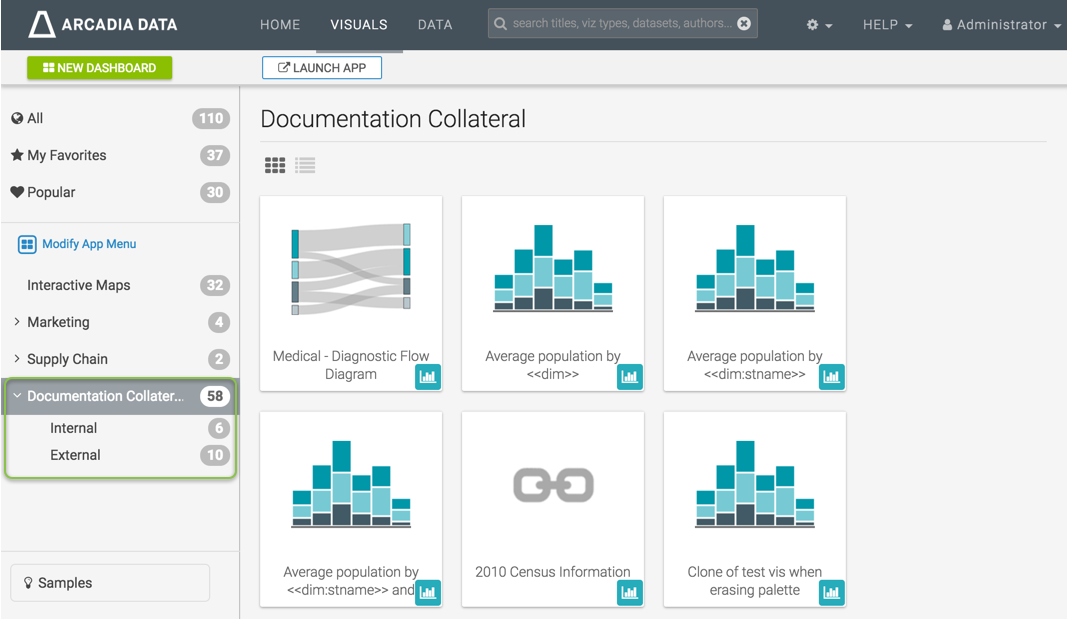
Note that the new apps Interactive Maps, Marketing, Supply Chain, and Documentation Collateral appear on the left navigation menu, together with the number of visuals and dashboards that are assigned to them.
Noe also that if you expand an app that has sub-groups, such as Documentation Collateral, the menu also shows the number of visuals in each subgroup.
Creating an App in the Left Navigation Menu
- Click Visuals in the main menu.
-
In the left navigation bar, click Modify App Menu.

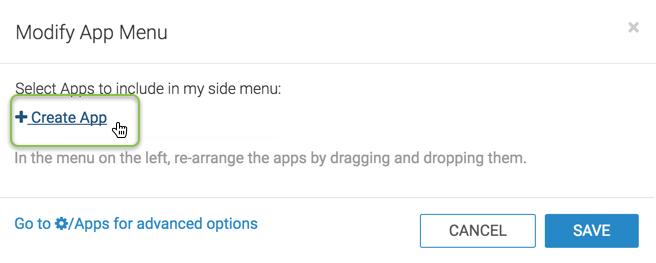
- The Modify App Menu window modal appears.
In the Modify App Menu window, click Create App.
-
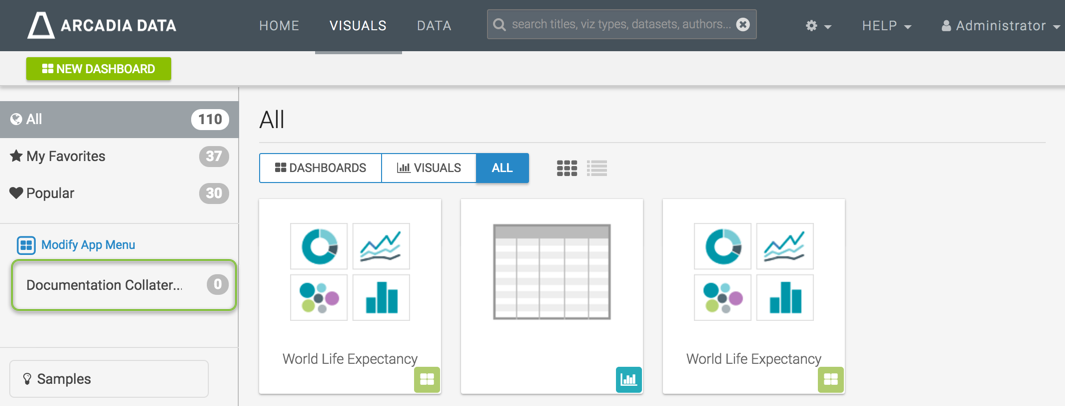
Enter the name of the new app in the text window (we used Documentation Collateral), ensure that the check-box next to it is marked, and click Save.

-
Note that the Visuals interface now shows the new app, Documentation Collateral, in the left navigation menu.
- To change the default options for the app, see Editing the Properties of Apps.