Linking Visuals
Linked visuals can be shared across dashboards. Additionally, linked visuals cannot be deleted when they are dropped from all the dashboards; they are still available to be added in future work. To see all linked visuals, navigate to the main Visual interface and click the Visuals button.

The following steps demonstrate how to designate an existing visual as linked.
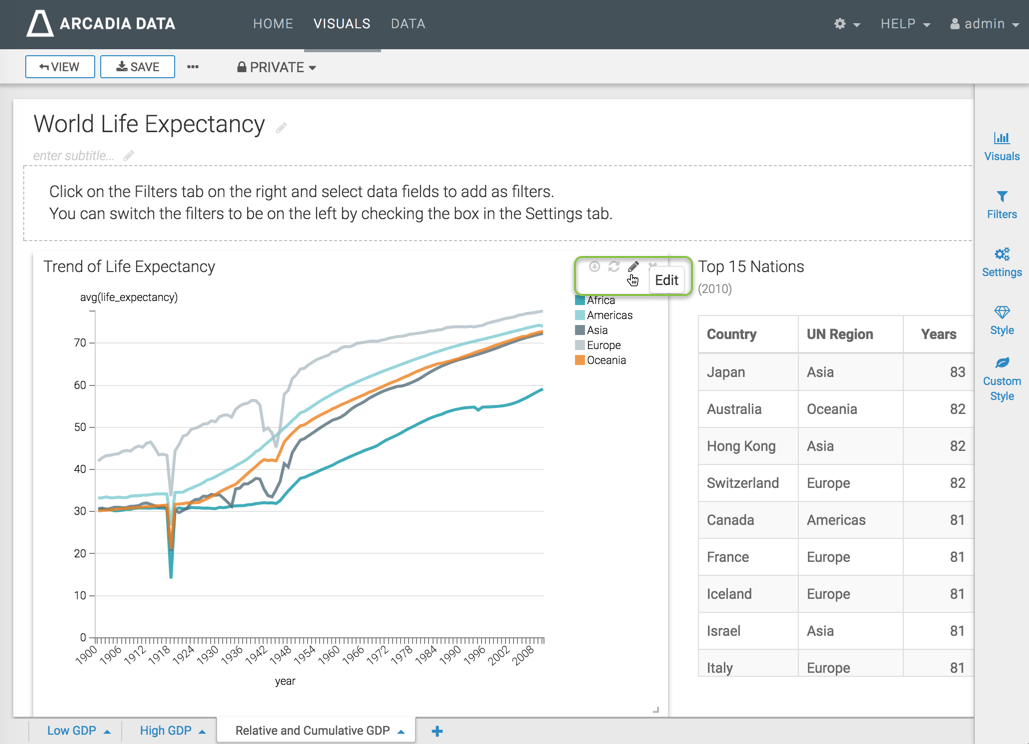
In Visual Designer, on the dashboard sheet, hover over the visual until its control widgets appear.
Click the (edit/pencil) icon at the top of the visual to start editing the visual.
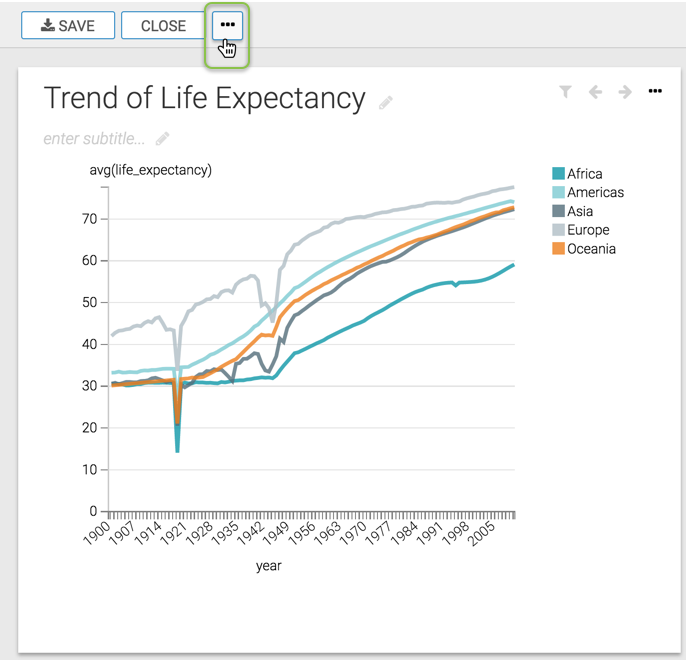
When editing the visual, open the supplemental menu by clicking the (ellipsis) icon.
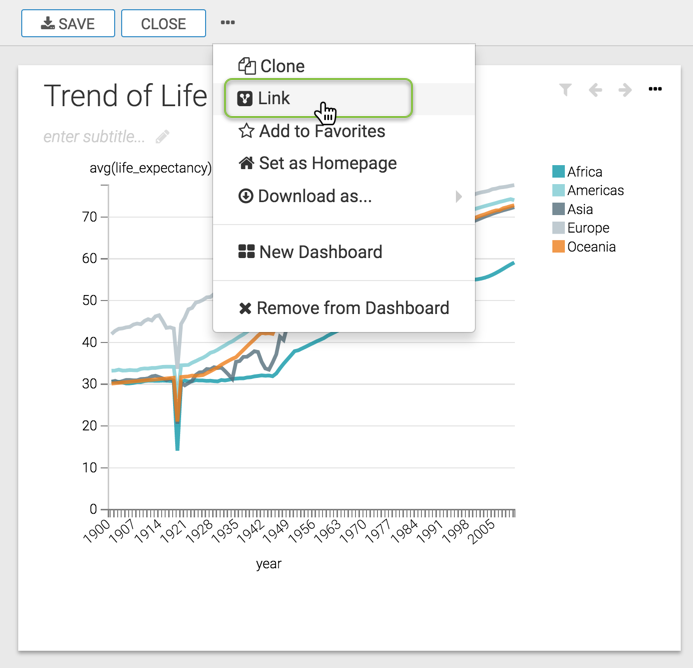
From the menu, select Link.
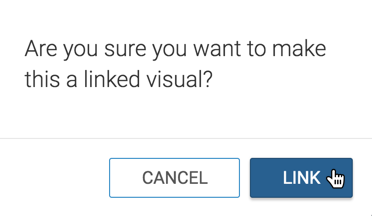
Confirm the operation by clicking Link.
-
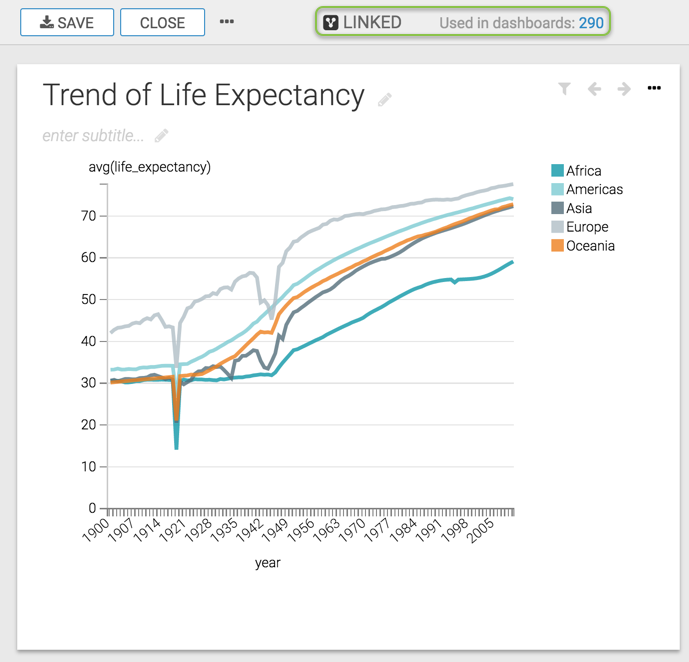
Note that the visual now appears as Linked, and lists the dashboards where the visual appears.
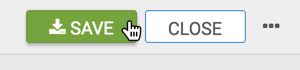
At the top left corner of the Visual Designer, click Save.
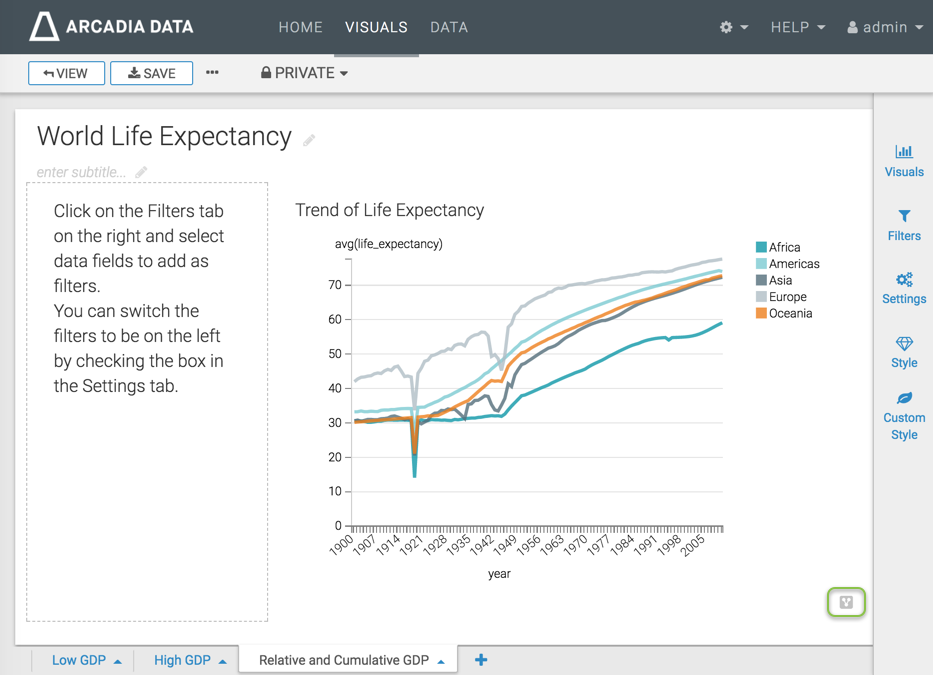
- Click Close to return to editing the dashboard sheet.
Notice that the visual now appears as a linked visual, with the designation in the lower right corner. You can also find it in the list of linked visuals, in the main Visual interface.
The visual can now be used in other dashboards, as described in Add a Linked Visual.
To unlink a visual, see Unlinking Visuals.