Configuring Scope of Dashboard Filters
In Arcadia Enterprise, you must specify the scope of a newly created custom filter, after adding it to a sheet in a dashboard.
Follow these steps to configure scope of the filter:
- Click the (gear) icon on the filter widget
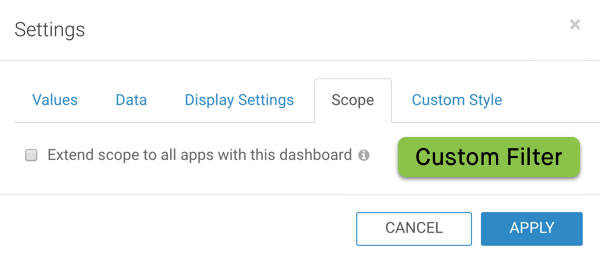
In the Settings modal window that appears, click the Scope tab, and examine the available options.
Display Filter Scope Options - Extend Scope to All Apps with this Dashboard
Select the Extend scope to all apps with this dashboard option. All apps that contain the dashboard inherit the selections and behavior of this filter. All sheets in a dashboard also inherit the filter behavior.
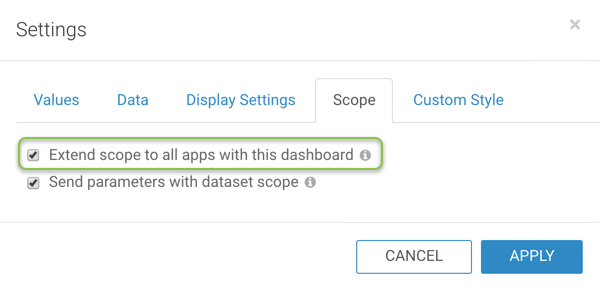
Extending Scope of the Filter Click Apply.
When you select this option in Edit mode, the filter widget on the dashboard displays a gray triangle on the top left corner of the filter. Hover over the triangle to view the tooltip.
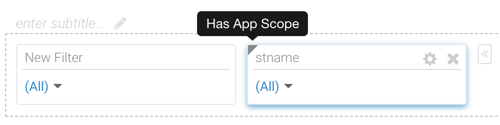
Filter With App Scope Indicator App scope dashboard filters appear only in the filter area, either across the top or on the left side; you cannot move them into the main grid area.
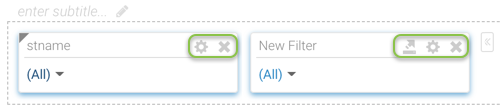
Filter With App Scope Cannot Move to Grid - Send Parameters with Dataset Scope
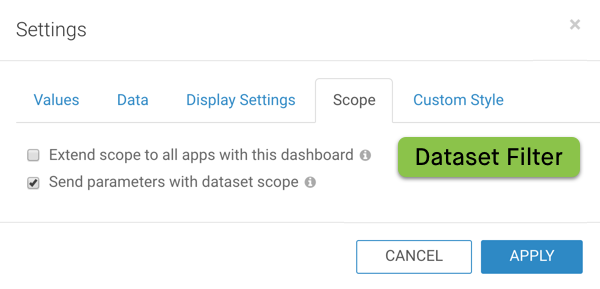
This option is only available for dashboard filters that are based on dataset fields, not on custom filter widgets.
When selected, the Send parameters with dataset scope option ensures that the dashboard filtering is consistent for all visuals that share this filter's dataset.
This is the default for new filters.
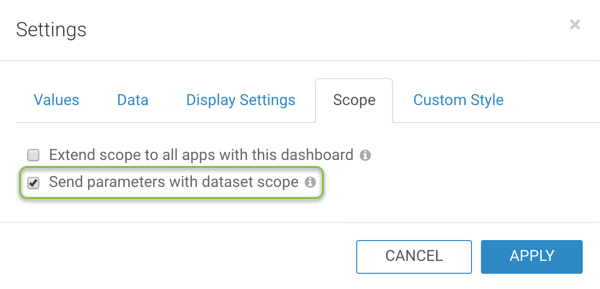
Send Parameters with Dataset Scope Click Apply.
For more information on explicit, dataset, and app scope filters, see Filter Scope.