Add Arcadia Enterprise Service to the Cluster
-
After the activation completes, access the MarkCloud cluster.
In Cloudera Manager top navigation menu, click Clusters, and then click MarkCloud (CDH 5.4.5).
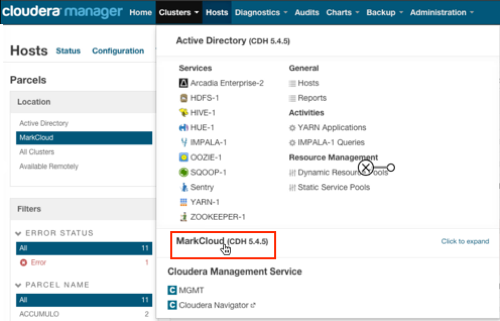
Accessing Target Arcadia Enterprise Cluster -
On the MarkCloud page, click Actions.
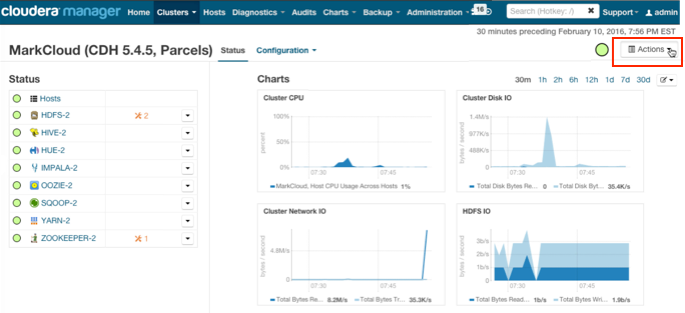
Actions on Target Arcadia Enterprise Cluster -
In the Actions menu, click Add a Service.
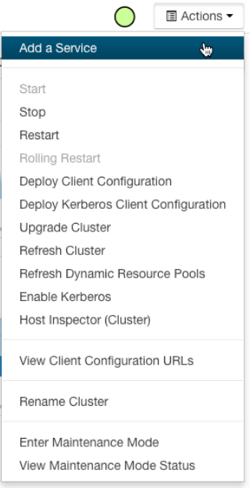
Adding a Service to Target Arcadia Enterprise Cluster -
In the Add Service Wizard, add the Arcadia Enterprise service.
Select Arcadia Enterprise, and click Continue.
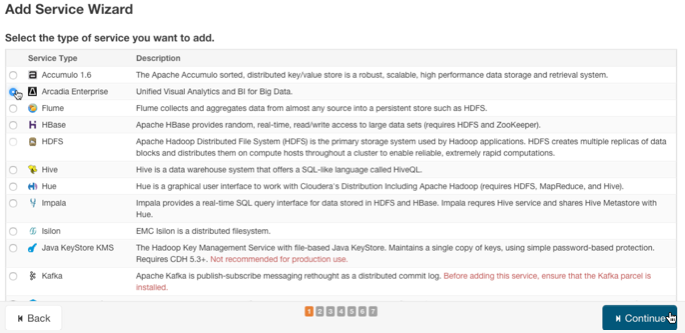
Cloudera Manager Add Service Wizard: Selecting Arcadia Enterprise Service -
On the next page of the Add Service Wizard, accept the default service dependencies, and click Continue.
In this example, the default dependency for the service is HDFS-2.
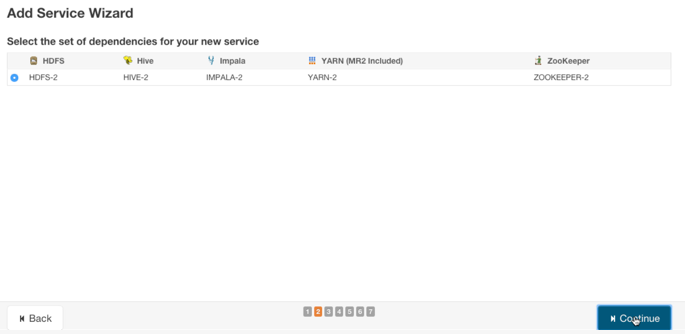
Cloudera Manager Add Service Wizard: Accepting Service Dependencies -
Note that Arcadia installations consist of four distinct roles. We describe them in the Installation Terminology and Architecture section:
- Arcadia Analytics Engine or ArcEngineruns all of Arcadia's high performance aggregation and cubing functions. You must deploy it on every data node.
- Arcadia State Server or ArcadiaStateStoreruns on a single instance.
- Arcadia Catalog Cache or ArcadiaCatalogruns on a single instance.
- Arcadia Visualization Server or ArcViz runs on a single instance.
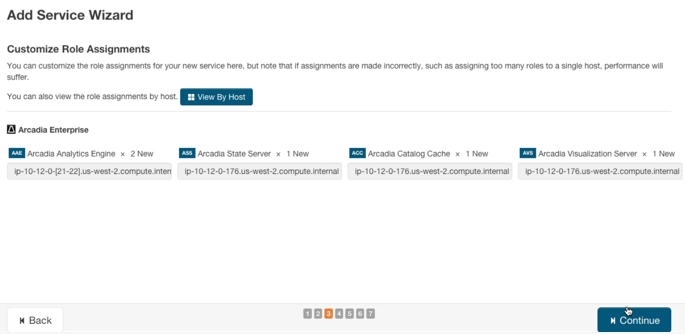
The Customize Role Assignment page enables you to configure each of these options.
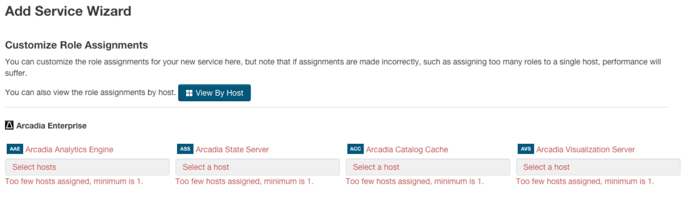
Cloudera Manager Add Service Wizard: Customize Role Assignments -
Start role assignment with the Arcadia Analytics Engine by clicking Select hosts.
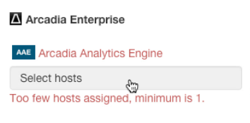
Cloudera Manager Add Service Wizard: Hosts for Arcadia Analytics Engine -
This installation has two data nodes, as indicated by the DN notation in the Existing Roles column.
Choose every data node by clicking its selection box.
Click OK.
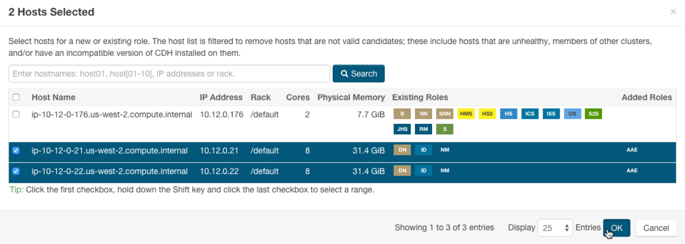
Cloudera Manager Add Service Wizard: Arcadia Analytics Engine Hosts Selected -
Position the Arcadia State Server.
Continue role assignment with Arcadia State Server, by clicking Select hosts.
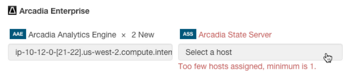
Cloudera Manager Add Service Wizard: Hosts for Arcadia State Server -
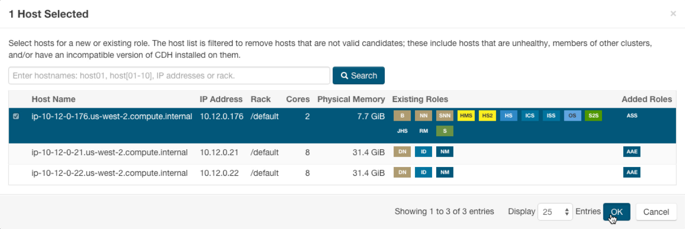
Deploy the server on the name node.
Click on the server indicated by the NN notation in the Existing Roles column.
Note that this is not required. Arcadia Data recommends placing thee state server on a datanode, or on a special gateway node if your cluster is sufficiently large.
Click OK.
Cloudera Manager Add Service Wizard: Arcadia State Server Host Selected -
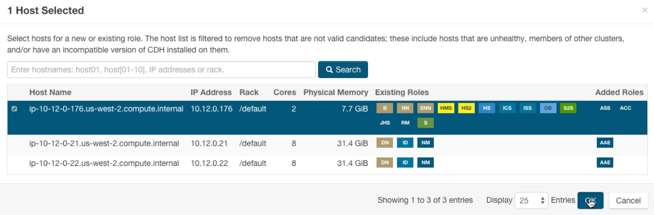
Similarly, assign roles for the Arcadia Catalog Cache by clicking Select hosts.

Cloudera Manager Add Service Wizard: Hosts for Arcadia Catalog Cache -
Deploy the Arcadia Catalog Cache on the single instance, the same name node.
Select the node and click OK.
Cloudera Manager Add Service Wizard: Arcadia Catalog Cache Host Selected -
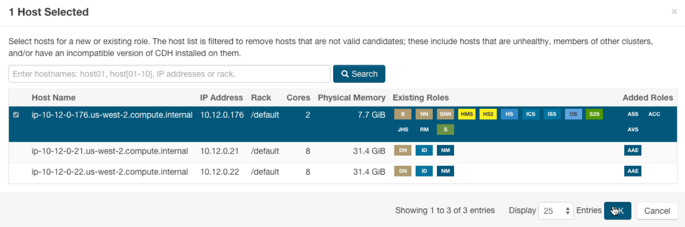
Finally, select the host for the Arcadia Visualization Server by clicking Select hosts.

Cloudera Manager Add Service Wizard: Hosts for Arcadia Visualization Server -
Deploy the Arcadia Visualization Server on the single instance, the name node again.
Select the node and click OK.
Cloudera Manager Add Service Wizard: Arcadia Visualization Server Host Selected -
Note that the Customize Role Assignment page shows that all roles are successfully assigned.
Click Continue.
Cloudera Manager Add Service Wizard: Confirming Custom Role Assignments