Creating New Snowflake Connections
Arcadia Enterprise supports data connections to Snowflake data warehouses.
The following steps demonstrate how to create new Snowflake data connections.
Note the following known issue that affects Snowflake connections:
On the main navigation bar, click Data.

The Data view appears, open on the Datasets tab.

In the side bar, click New Connection.

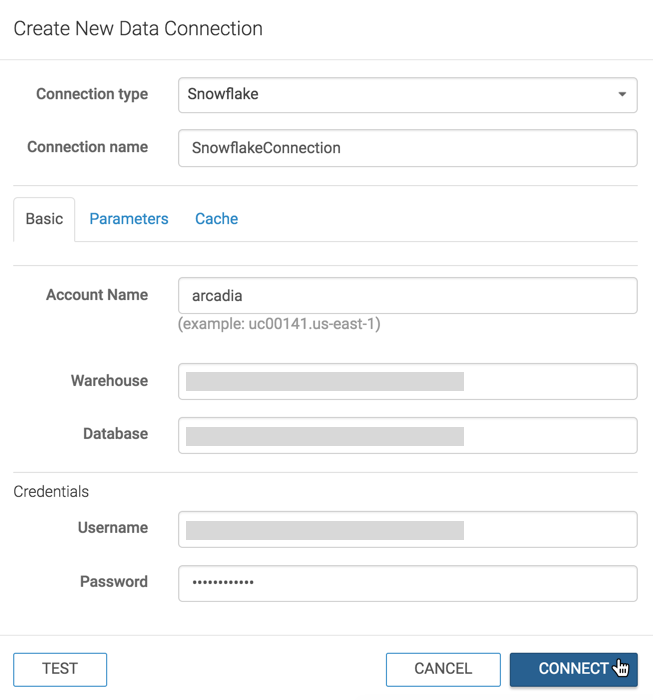
The Create New Data Connection modal window appears.
- In the Create New Data Connection modal window, under Connection type, select Snowflake.
- Under Connection name, specify the name of the new connection.
Here, we use
SnowflakeConnection. - Under Account Name, enter the name of your account with Snowflake.
- Under Warehouse, enter the name of the target warehouse.
- Under Database, enter the name of the target database.
Under Credentials, complete the following entries.
Under Username, enter the username for establishing the connection.
Under Password, enter the password for establishing the connection.
At the bottom of the modal, click Test.

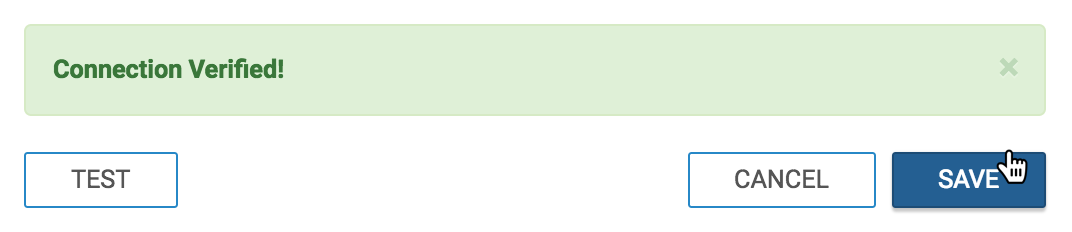
Testing the New Connection If the connection is valid, the system returns a 'Connection Verified' message.
Click Save.
Connecting a Verified Connection
After this operation succeeds, the new connection name appears on the side navigation bar. To customize the connection, see the options available under the Advanced, Parameters, and Cache tabs.
Parameter Options
Click the Parameters tab.
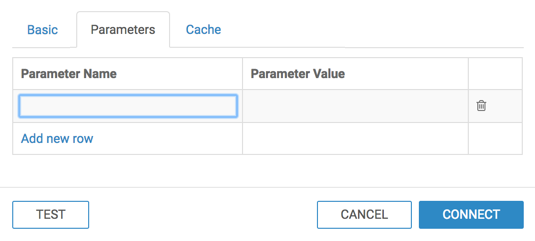
Specifying Connection Parameters Click the first row to add a Parameter name/value pair. Type in the parameters and their values.
If you want to remove a parameter, click (trash can) icon to remove existing parameters.
Cache Options
Click the Cache tab.
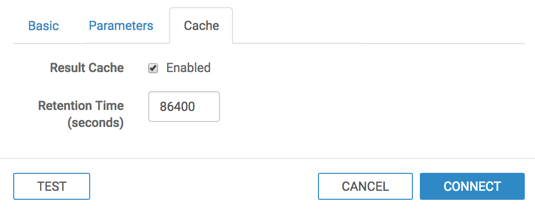
Specifying Cache Select the Result Cache option to enable periodic cache updates.
In the Retention Time field, specify the frequency of cache updates, in seconds.
For example, the default value of 86400 indicates an update every 24 hours, and a value of 300 initiates a refresh every 5 minutes.