Adding Data in CSV Format
The following steps demonstrate how to import data from flat CSV files. The files may be
comma-delimited, or use other delimiting characters. This exercise uses the data from the
downloadable table state-area.csv import data into [data source
samples.state_area].
On the main navigation bar, click Data.

The Data view appears, open on the Datasets tab.

-
Click the Add Data button.
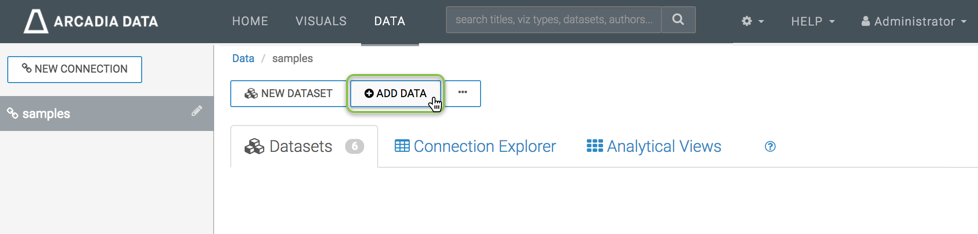
The Add Data modal window appears.
-
In the Add Data modal window, select the CSV option, and click Choose File.
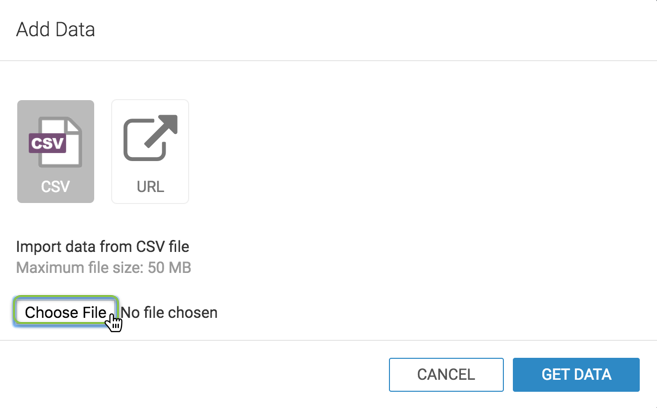
Add Data from File Modal Window -
Using your computer's native browser, find and select the data file.
Confirm file selection.
-
In the Add Data modal window, note that the name of the file you added. In this example, we are adding
state-area.csv.Click Get Data.
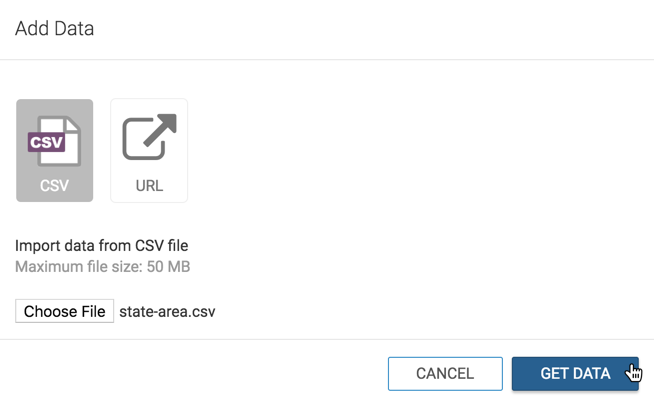
Selecting a Data File to Upload -
In the main area, under Imported File: sate-area.csv, ensure that your data is configured correctly before confirming its import:
- Under Database, specify
samples. Alternatively, select another database. - Under Table Name, specify
state_area. The system typically assigns a numerical suffix that you can remove. - The Arcadia Enterprise makes an attempt to detect the Column Delimiter used in the source file. In this case, the column delimiter is Comma, but it can also be Tab, Space, Semicolon, Colon, Pipe, Control A, or Other. Make the necessary adjustments to this field.
- Under Locale Setting, which is the default for your system, you can select one of the common options: United States, United Kingdom, Sweden, Norway, or Other. Selecting Other brings up a separate menu where you can select another supported locale. See Changing the Locale Setting of an Imported File.
- Under Options, select the data clean-up tasks that Arcadia Enterprise provides prior to data import. These include File contains headers, Use comma as decimal mark, Fill missing columns, Skip malformed rows, and Use '\' as escape character. Note that Arcadia Enterprise can detect many items automatically, such as the presence of header rows.
- In the Data Table preview, each column of the table appears with its data type and name. Arcadia Enterprise detects the data type automatically, but you can change it in this interface prior to import. For example, you may wish to store numerical categories as strings. The data types are Boolean, Integer, Real, String, and Timestamp.
-
[Optional] You may select to change the name of the table column before importing.
In this example, we could change the column names state to land_area_sq_miles.
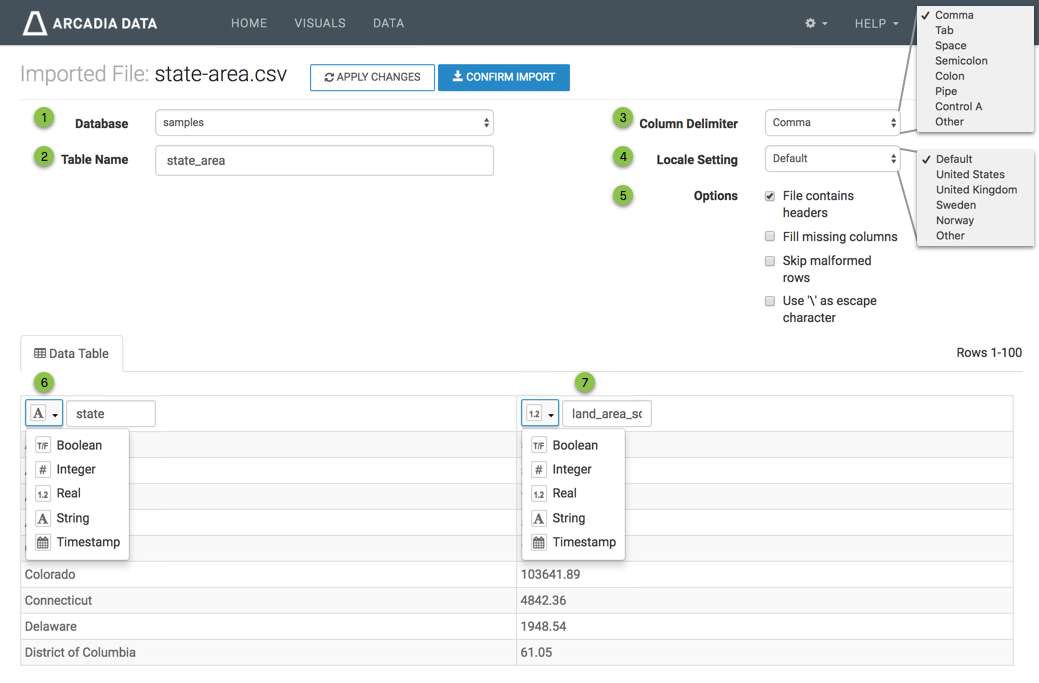
Confirming Data Configuration Before Import - Under Database, specify
-
Click Apply Changes to ensure that all adjustments you made (file name, data type, name change, and so on) register.

Applying Changes Before Import -
Click Confirm Import.

Confirming Data Import -
Click Confirm Import.
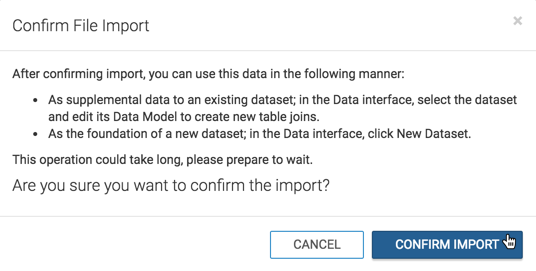
Confirming Data Configuration Before Import -
To verify that the data has been imported correctly into your system, check the Connection Explorer interface. Note that the state-area table is visible in our connection.
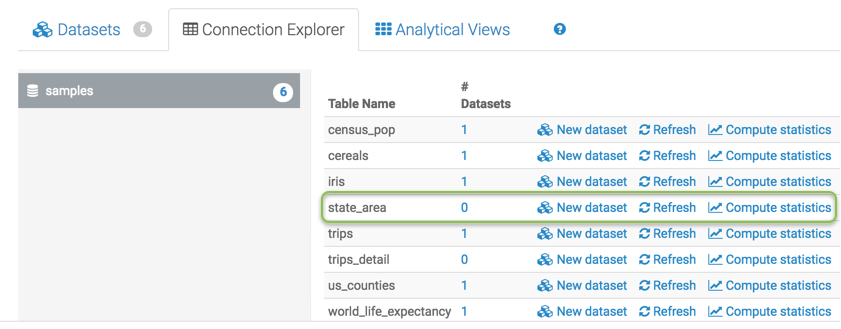
Data File in Connection Explorer